I have captured detailed steps of upgrade
Step -1 Pre work & Upload Bundle
Note: 1. Login via FQDN or IP address of the Appliance (Not to use VIP IP) and make sure one copy of back-up is run
Go to path System>Backup & Restore and trigger one or else you get the below warning message and need to be acknowledged
2.Login via FQDN or IP address of the Appliance (Not to use VIP IP) and go to path System>Upgrade and upload the .mub file to the
NSX Manager ( 10 -15 min)
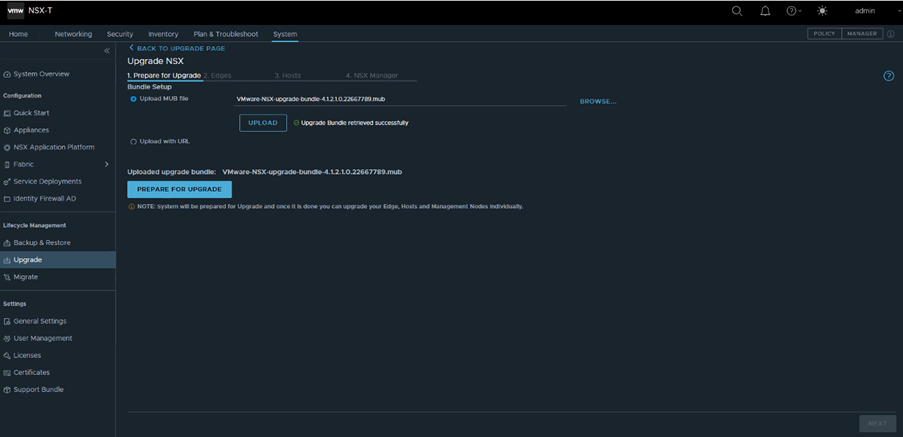
3. Verify for any alarms in the NSX-T dashboard – No alarms is always good 🙂
4. Read out the release notes of Target version e.g. NSX-T 4.1.x and compatibility support matrix.
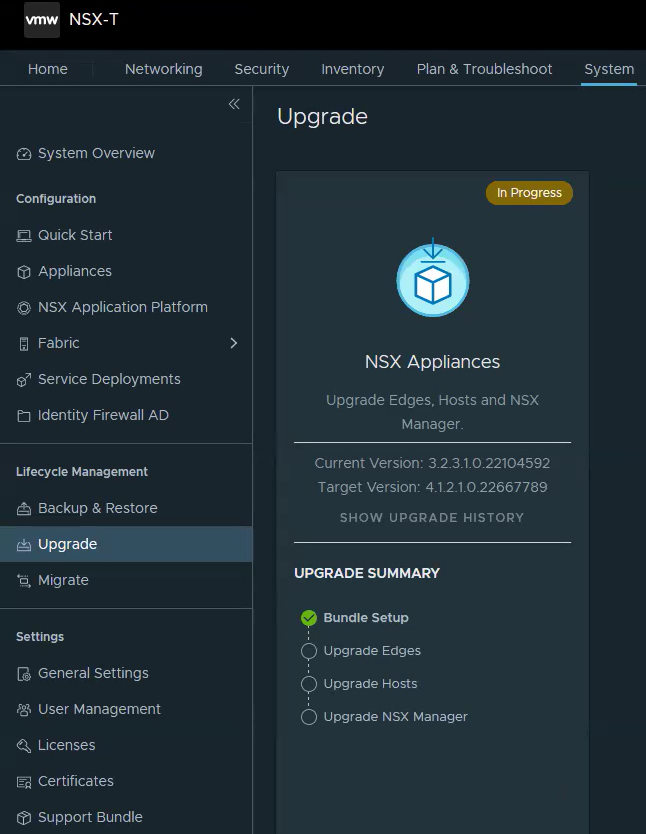
5.verify the bundles are uploaded and ready-to-go and validate for current version and target version
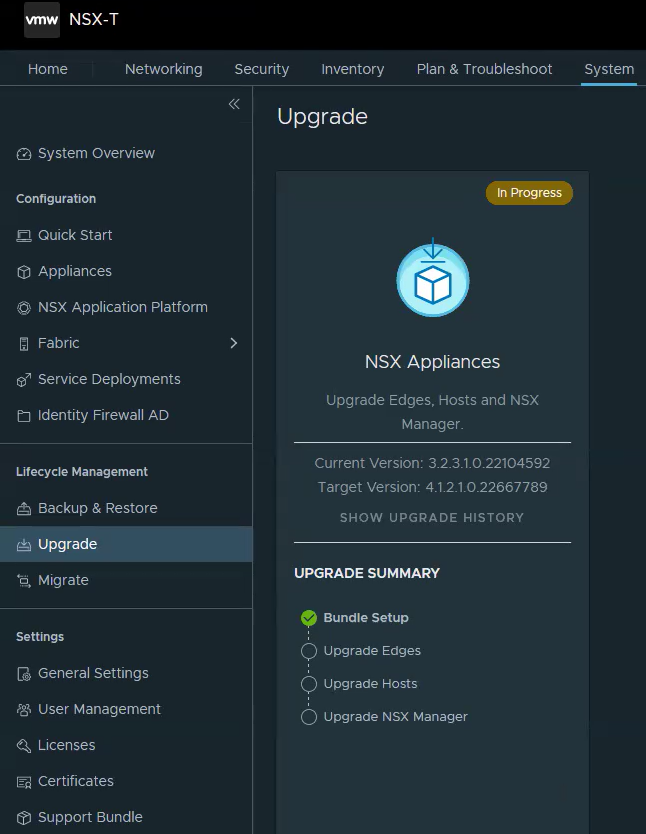
Step -2 Preparing for upgrade
1.Login to NSX-T GUI and go to path System>upgrade and click “Prepare for Upgrade”
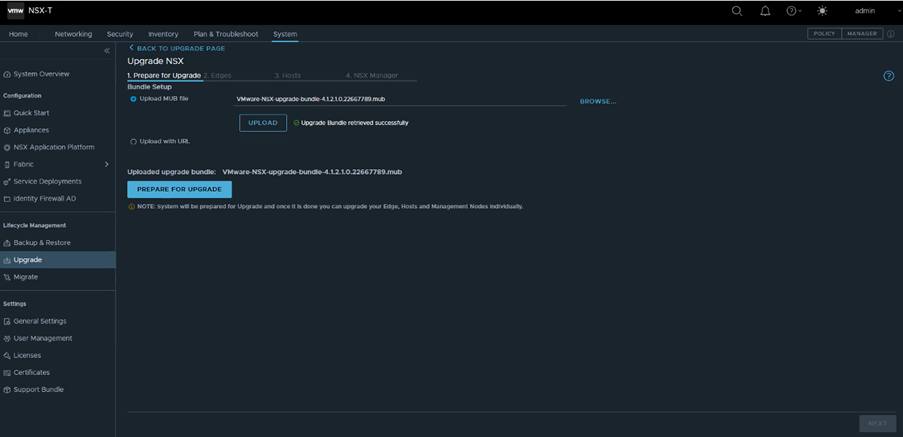
2. will take about 15 min to prepare for upgrade
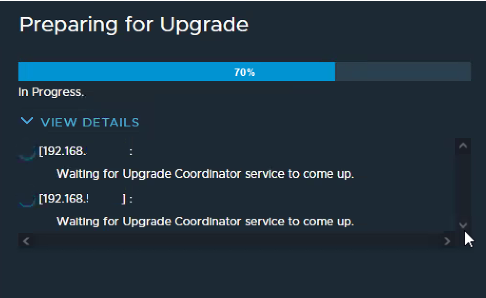
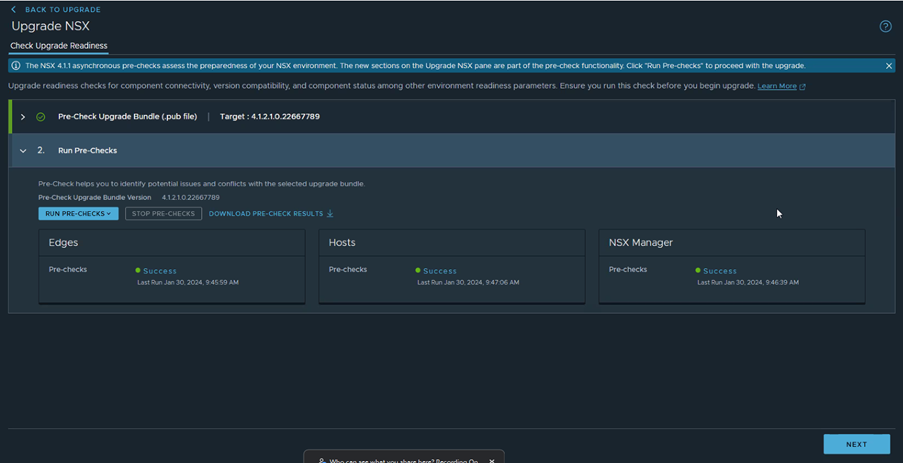
3. Click Run Pre-checks (which will run precheck on component Edges/hosts/Managers) and should see Success and Green andclick
Next
Step -3 Real Upgrade
1. In the upgrade NSX screen, click “Start UPGRADE ” will start Edge upgrade and watch out “status”(15 min per edge approx.)
2. In parallel, SSH to edge node to check the upgrade status run cmd “get upgrade progress-status”
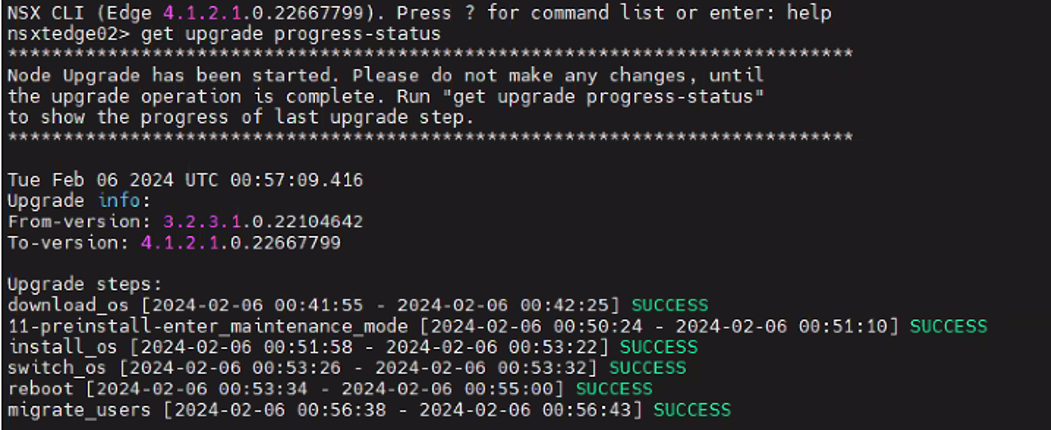
3. once Edge nodes upgraded check status is Success and Green andclick Next
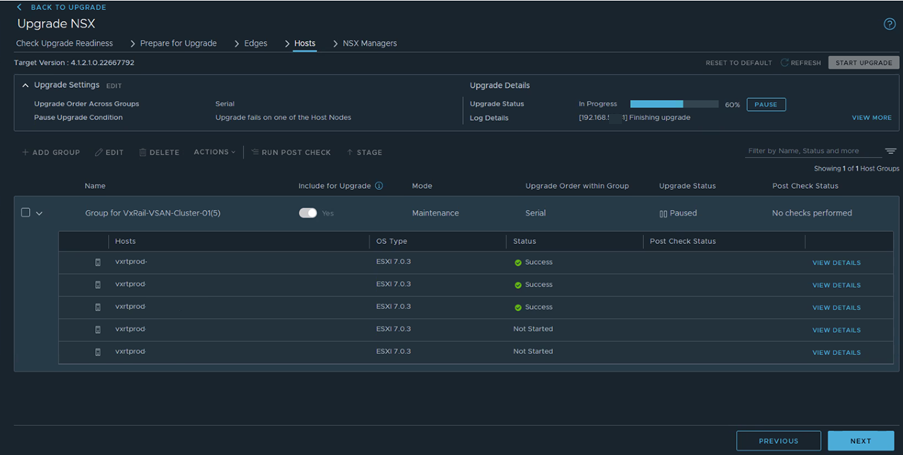
4. Click “START UPGRADE” for next component Host (15 min per Node approx.) and wait till Success and Green and click Next
In the below screenshot still it is running at 60% and 3 host complete
4. Click “START UPGRADE” for next component NSX Manager and wait till Success and Green
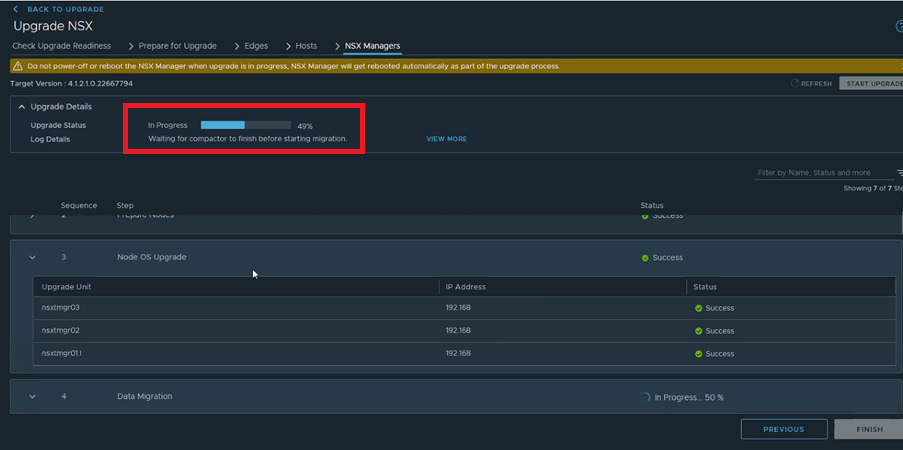
4. wait till all the components upgrade is complete with Success and Green
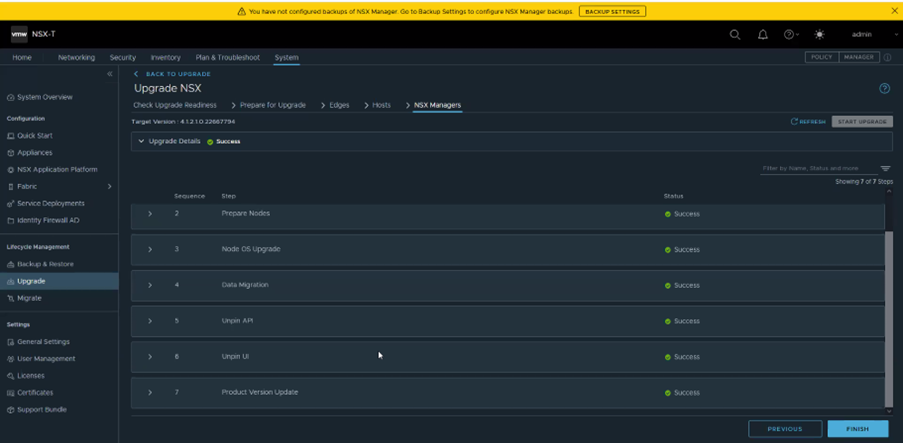
5. Click “FINISH” and verify the upgraded version, clusters state and any alerts

